How to Build an MVP in 6 Steps
Key Takeaways
Starting a new product can be an exciting and daunting prospect. It's a chance to bring a new idea to life — but it can also be risky and time-consuming to build a fully-featured product, especially if it doesn't succeed in the market. That's where the concept of a minimum viable product (MVP) comes in.
An MVP is a stripped-down version of a product that includes only the most essential features. The goal is to validate an idea quickly and inexpensively, gathering feedback from users and making iterative improvements along the way.
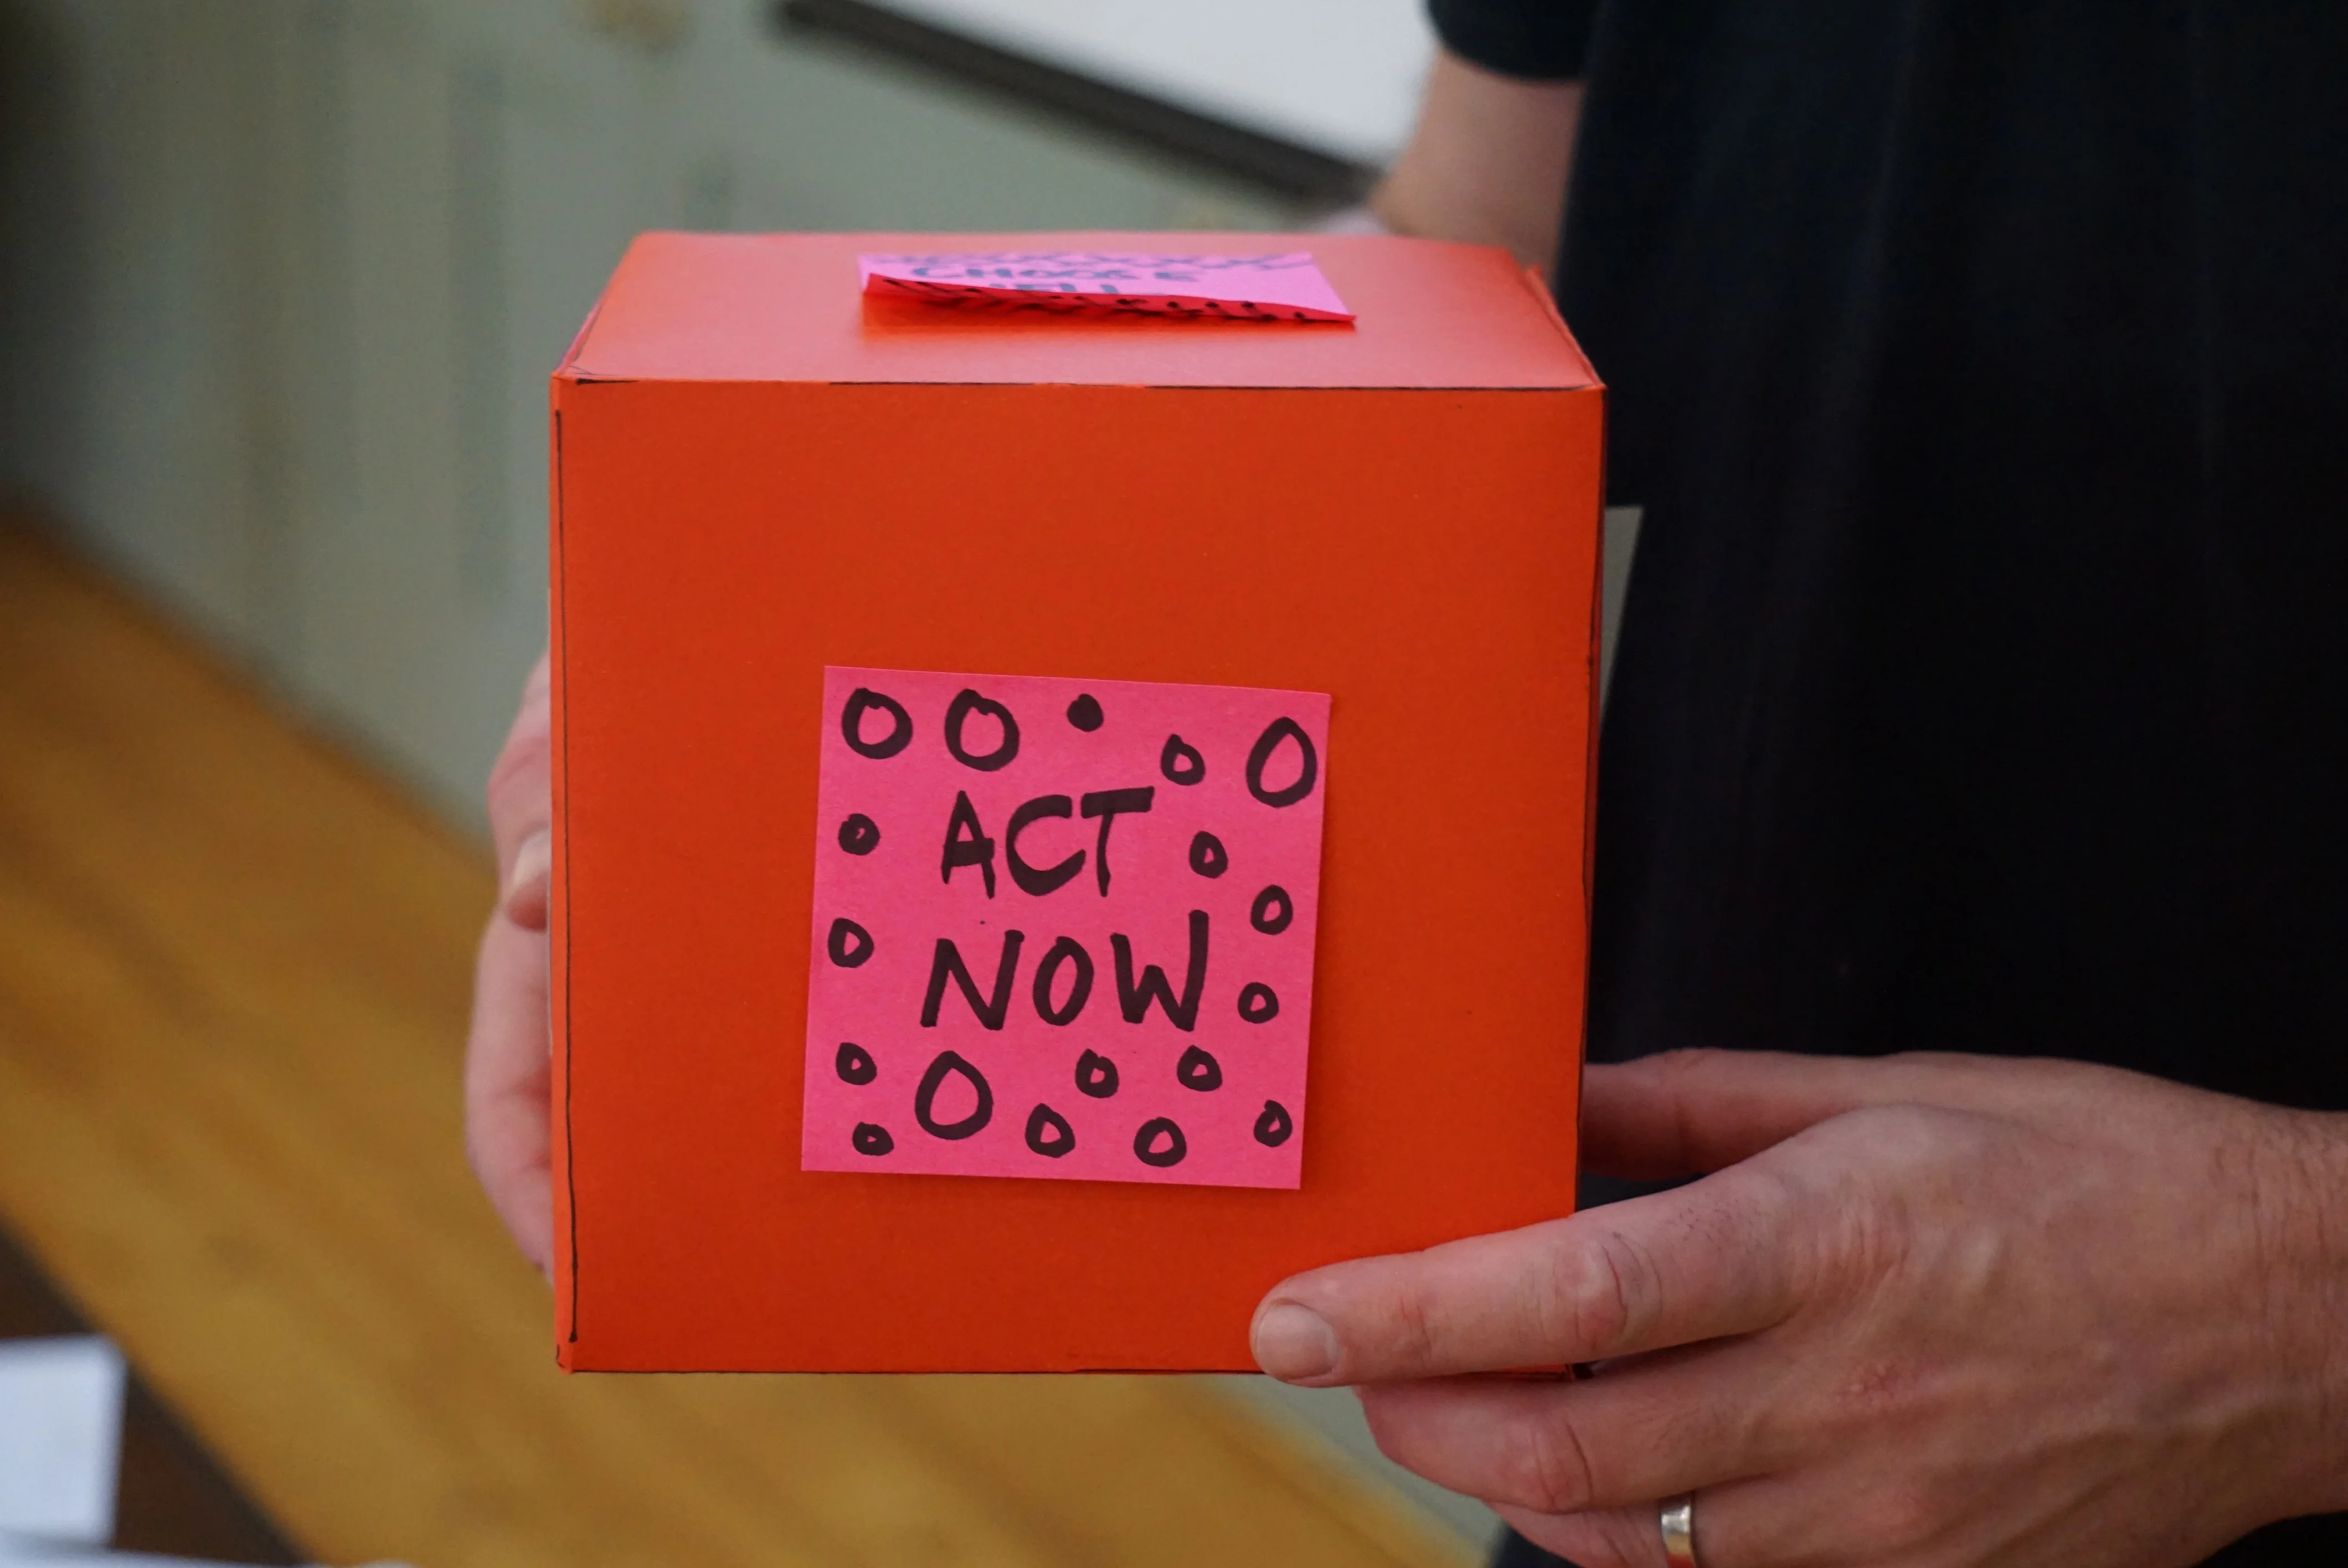
Step 1: Define Your MVP
Defining your MVP is critical to the success of your product. It helps you focus on the most important aspects and avoid unnecessary features that distract from the core value proposition.
Step 2: Research and Validate
Before you start building, ensure there is market demand for your product and that it addresses a real need.
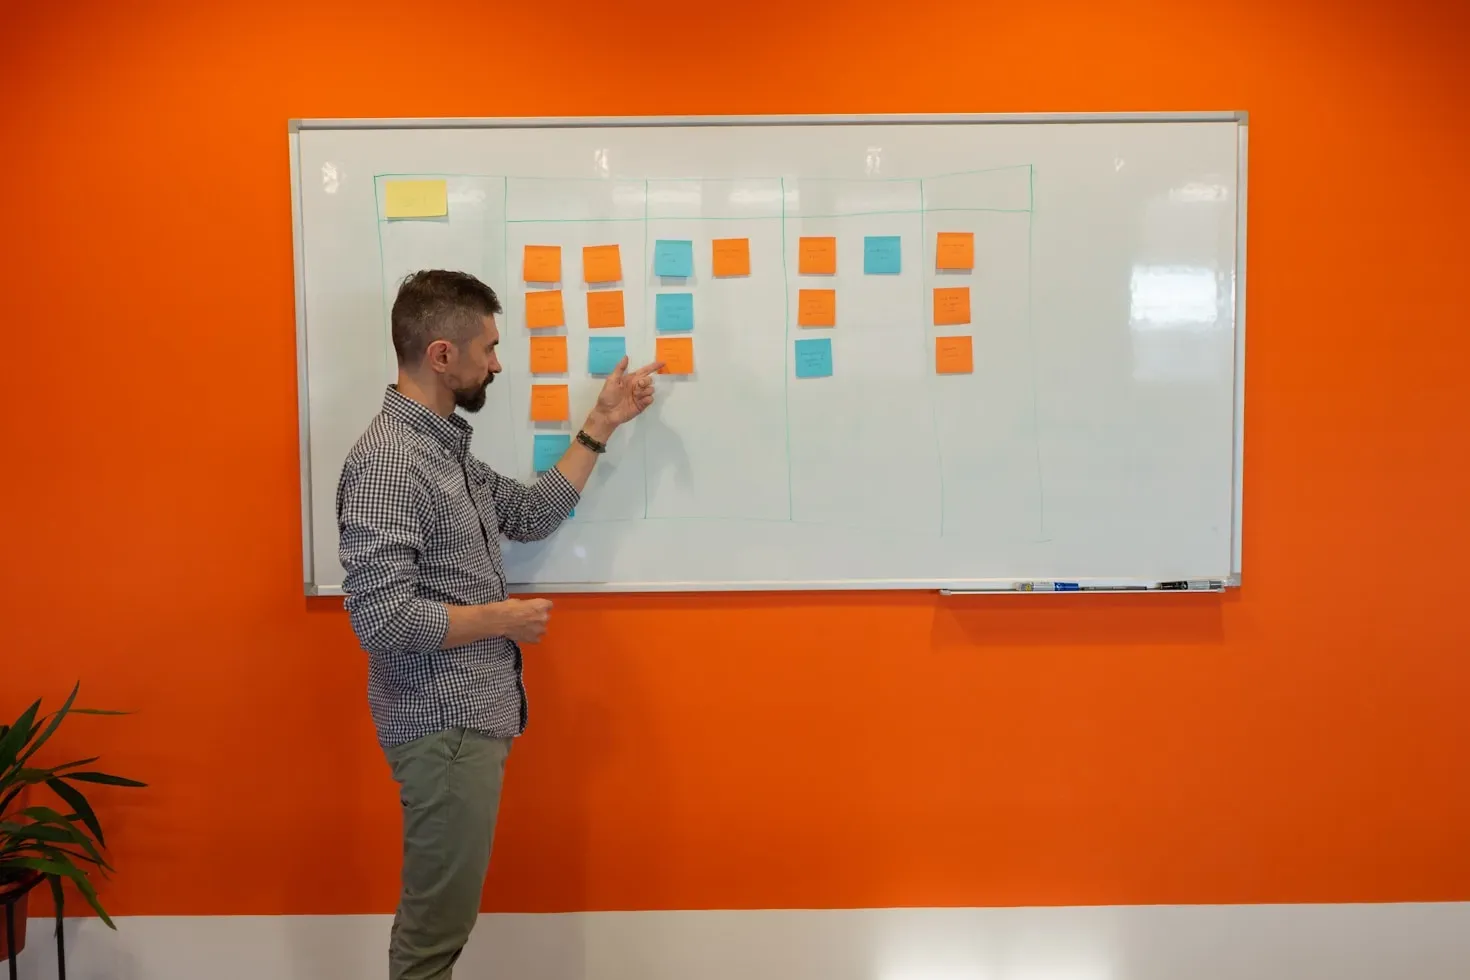
Step 3: Assemble Your Team
Depending on the complexity of your MVP, you may need a team of professionals to help you build and launch it.
This might involve hiring full-time employees, contracting freelancers, or working with a development agency. Whatever approach you take, have a clear idea of what roles and responsibilities are needed.
Step 4: Set Up Your Development Environment
Setting up your development environment ensures that your team can work efficiently and effectively.
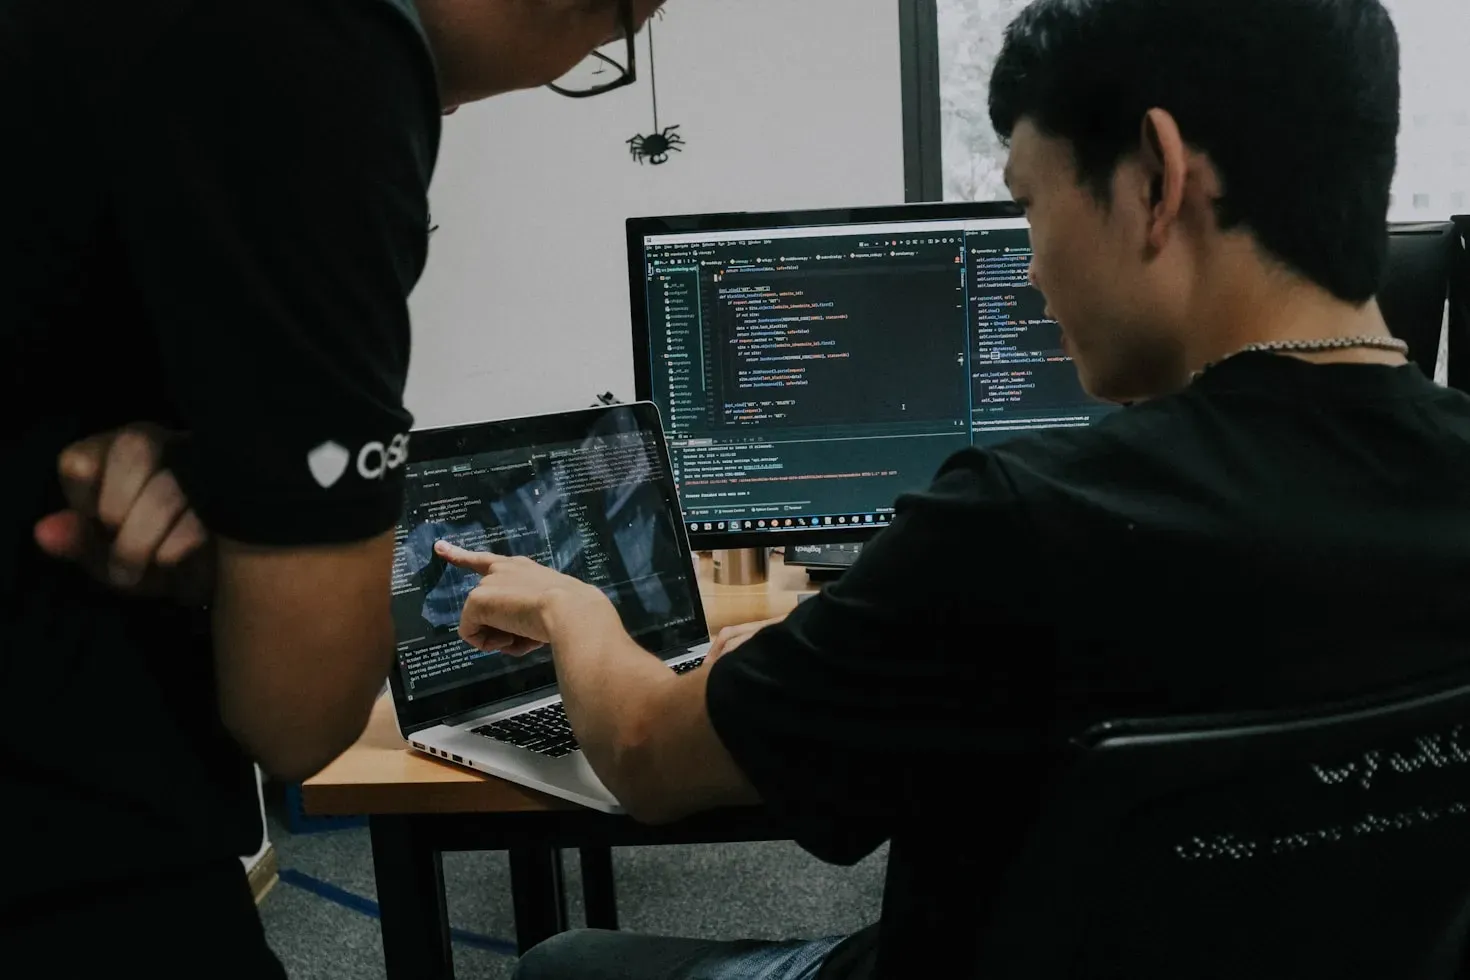
Step 5: Build and Test
Building and testing your MVP is an iterative process that involves trial and error.
Step 6: Launch and Iterate
Launching your MVP is an exciting and nerve-wracking experience. It's a chance to bring your product to market and see how it performs.
Use this feedback to iterate on your MVP and continue improving over time. Don't be afraid to make changes and pivot — the goal of an MVP is to learn from your users and make iterative improvements.
Conclusion
Building an MVP is a powerful way to validate a product idea quickly and inexpensively. The key takeaway:
At MusicTech Lab, we've helped teams go from idea to MVP across music tech, creative industries, and beyond. The key is starting small, validating fast, and iterating with real user feedback.
Need Help with This?
Building something similar or facing technical challenges? We've been there.
Let's talk — no sales pitch, just honest engineering advice.
Becoming a Vue.js Dev: Do Paid Trials Work?
A junior developer shares their experience joining a software team through a paid two-week trial period and how it helped both sides evaluate the fit.
How to conduct workshops for creative industry?
Learn how to run effective software requirement workshops for creative professionals. Tips on flexibility, visual engagement, and collaborative facilitation.
Related Articles


Newsletter
Get music tech insights, case studies, and industry news delivered to your inbox.